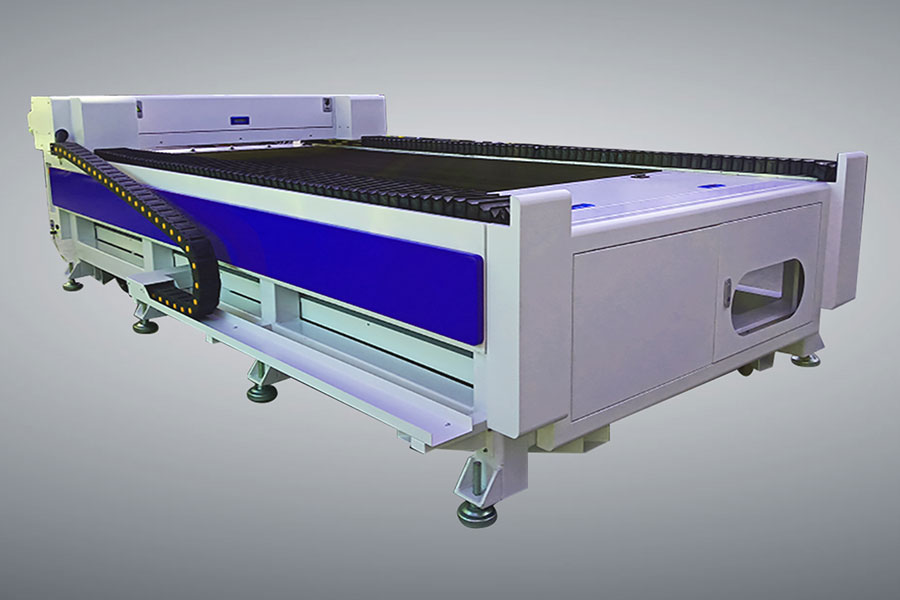
Firstly, determine whether the center height of the laser frame is the same as the center height of the laser frame. Generally, laser frame manufacturers will directly match the center height. What is center height: The hole center points of solid laser, laser red frame, laser full frame, laser half frame, and laser beam expanding frame must be flat, and the difference cannot exceed 1mm
Step 1: Install the red light frame, the red light indicator light is on, turn it down a bit, and pass through the "center" of the front baffle hole of the optical frame,
Step 2: Install the beam expanding tube, as the red light reflection of the tube will have scattered points. Here, adjust the beam expansion frame and see that the red light turns into a point, which is the center point.
Step 3: Install the laser cavity. Some people call it a solid-state laser. The cavity must have laser red light, indicating that the positioning light passes through the center of the YAG laser crystal rod inside the cavity, and the red light is reflected at a point as the center. If the red light is not a point, it indicates that the crystal rod is not in the direction of the center point, and the volume laser cavity is adjusted to be the center point. Beam laser
Step 4: Install the half lens frame (including laser half lens) and check if the red light indicator light passes through the center of the lens. If so, tighten the screw on the frame. If the indicator light is not in the center, adjust the screw to the center point to see if the red light frame is the best red light point,
Step 5: Install the total reflection mirror frame (including all laser reflection lenses) to see if the red light point is in the center, and perform the same operation as the semi transparent and semi reflective mirror
Step 6: Turn on the laser power and turn on the laser xenon lamp,
Step 7: Adjust the laser current on the laser cutting machine template to between:, with pulse width of 1, 6-2, 0, and frequency of 1, 0. Please note that I set the dimming parameters based on the dimming photo paper. In case of dimming film, Frequency multiplier is another parameter. Step 8: Place the photo paper in front of the laser half mirror, expand the back seat of the beam tube, and press the laser, with a continuous frequency of one light point per second. Check if the dots on the photo paper are the roundest. This is to achieve the best cutting effect, rather than just adjusting the screws on the total reflection frame to achieve the best circular effect.

