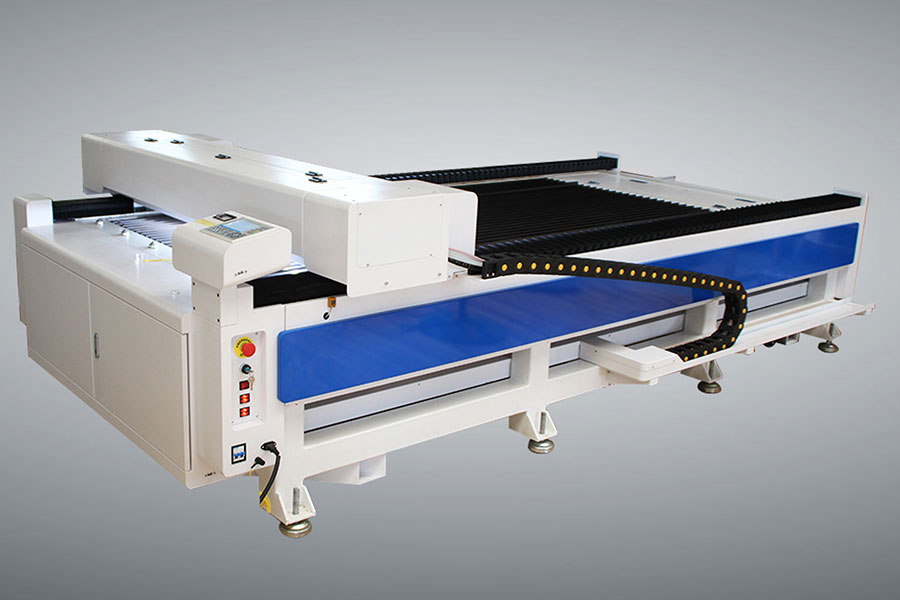
Step 1: Firstly, ensure that the beam of the laser tube can be set at the center of the first reflector (the spot must be complete).
Step 2: When adjusting the second reflector, stick the dimmer block (an object that can be marked) to the second reflector, move the beam to the position closest to the first mirror frame, and click (click) the mark (note: to prevent laser radiation from hurting people, please cover it with a non-metallic plate, test the approximate position of the light spot, and then adjust it). Gradually move the gantry to the farthest position from the first reflector frame and shoot according to the point. If the two markings do not overlap, adjust the copper screw on the first reflector to overlap the two laser point markings (adjust until the two points completely overlap).
Step 3: When adjusting the third mirror, paste a dimming block (which can mark an object) on the third mirror, move the vehicle (laser head) to a position close to the second mirror, and press the point (click it, the following is the same as step 2) to make the low beam end and high beam end completely coincide. The light point should be hit at the center of the entrance hole of the vehicle (laser head).
Step 4: If the laser does not fall at the center of the aperture, adjust the deviation above and below: Lift or reduce the laser tube. Internal and external deviation: The second reflector can only be adjusted inward or outward. (If the position of the laser tube or reflector is adjusted, the second and third steps need to be redone to fully overlap the light points)

